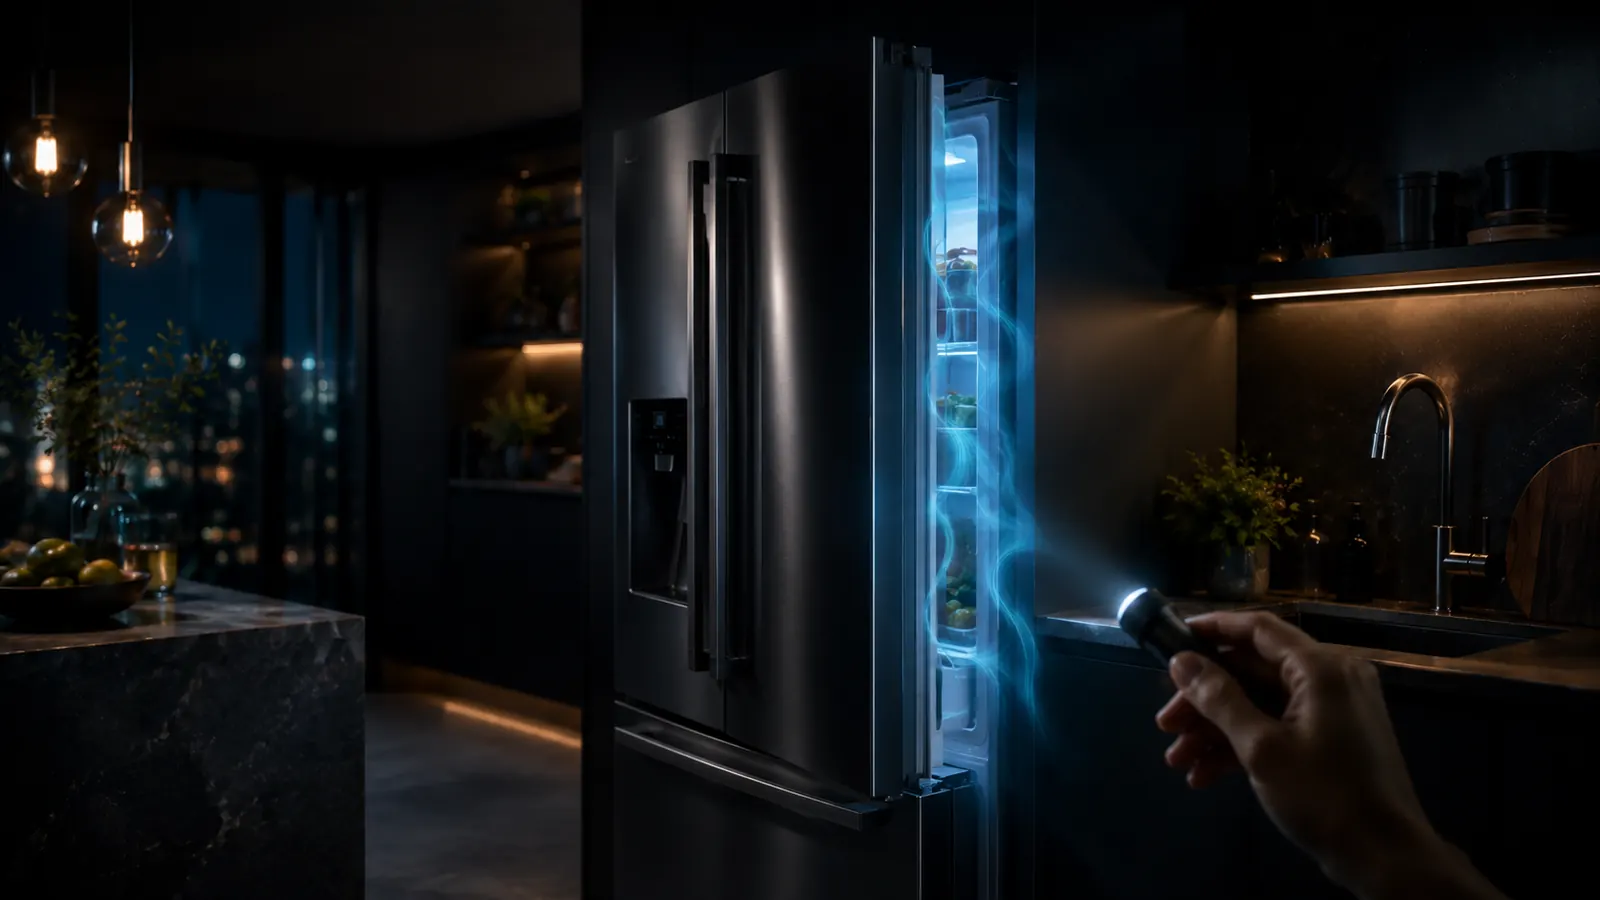
A refrigerator door gasket looks simple, but it is part of the cooling system. The compressor can remove heat only after that heat enters the cabinet; a poor seal continuously admits warm, moist room air and forces the system to remove that extra heat and humidity again.
Door-seal problems can therefore show up as condensation, frost, long compressor run time or warm spots. They can also be misdiagnosed when the real issue is a shelf, drawer or container preventing the door from closing.
Start with door interference
Open the door and inspect the full perimeter. Make sure bins, food packages and drawers are fully seated and not touching the door. Check that the appliance is stable and that hinges have not sagged enough to misalign the door.
Clean the gasket before judging it
Grease, syrup, crumbs and dust can prevent the flexible gasket from seating evenly. Use the cleaning method specified by the manufacturer—typically mild soap and water rather than aggressive solvents. Dry the gasket and cabinet contact surface completely.
Inspect for physical damage
- Tears or splits in the sealing lip.
- Sections that have become permanently flattened.
- Hard or brittle material that no longer flexes.
- Corners pulled away from the door liner.
- Mold or contamination that cannot be cleaned safely.
A gasket with physical damage is a better replacement candidate than one that is simply dirty or temporarily deformed.
The paper test: useful but limited
Closing the door on a strip of paper and feeling for resistance can reveal major differences around the perimeter. Use it as a comparison tool, not a precise measurement. Magnetic gasket force and cabinet geometry vary, so one “easy pull” spot should be combined with visual evidence and temperature symptoms.
Condensation does not always mean gasket failure
High room humidity, frequent door opening and adding warm food can all create temporary condensation. Look for a persistent pattern concentrated near one gasket area. Frost repeatedly forming near the same edge is stronger evidence of air leakage than a few droplets after a humid day.
Check the light and door sensor
GE notes that an interior light staying on can add heat and that door misalignment can affect the light. On modern refrigerators, door sensors may also control fans and alarms. A door that looks closed but is not recognized as closed can therefore create multiple symptoms.
Do not compensate by setting colder temperatures
Lowering the setpoint does not seal an air leak. It can increase compressor run time while the source of heat and moisture remains. Fix the closure problem first, then return controls to the manufacturer-recommended range and verify actual temperature with a thermometer.
When to replace the gasket
Replace the seal when it is torn, permanently deformed, no longer making continuous contact after cleaning and alignment checks, or when the manufacturer specifies replacement for the observed damage. Use the exact gasket for the model; a seal that fits physically but has the wrong profile can create new leaks.
Why gasket maintenance supports longevity
A good seal reduces unnecessary cooling load. It cannot prevent compressor or electronic failures, but it keeps the refrigerator operating closer to its intended conditions and reduces condensation that can affect liners, drawers and food quality.
A sensible troubleshooting mindset
The goal of troubleshooting is not to replace parts until the symptom disappears. Start with observations that can separate categories of failure, change one variable at a time, and keep notes if the symptom is intermittent. This is especially important on modern products where controls can compensate for a developing fault and where one error message can have several possible causes.
Model-specific documentation should override generic internet advice. Manufacturers change component layouts, service access, error codes and maintenance requirements between generations. A procedure that is safe on one model can create leaks, electrical risk or damage on another. If a step requires live electrical measurement, refrigerant work, opening a sealed lithium pack, gas-system repair or defeating a safety interlock, it has moved beyond ordinary owner maintenance.
For Owngevity, a good repair is one that restores useful service without creating disproportionate safety, cost or reliability risk. That is why these guides separate low-risk checks from component diagnosis and why lifespan estimates are expressed as ranges instead of fake precision.
Before you spend money: document the symptom
Good troubleshooting becomes much easier when the symptom is described precisely. Note what the refrigerator does, when it happens, whether the behavior is repeatable and whether anything changed immediately before the problem started. Record model and serial information before ordering parts or contacting service. If an error code appears, photograph it and use the manual for that exact model rather than relying on a code list for a different generation.
Also separate a performance complaint from a failure. A machine that still completes its intended job but does it less conveniently may need maintenance or an adjustment; a product that leaks, overheats, trips protection devices or cannot perform a core function has a different risk profile. This distinction keeps small issues from turning into unnecessary replacement decisions.
How to judge a repair quote
Ask what has actually been diagnosed, which part will be replaced, whether the quote includes labor and return visits, and what warranty applies to the work. A clear diagnosis with a defined part and total price is more valuable than a low estimate based on guesswork. If the repair is expensive, ask whether the technician sees evidence of other wear that could become significant soon.
Compare the quote with a genuinely equivalent replacement, not simply the cheapest product in the category. Include delivery, installation, accessories, disposal and any changes needed to fit the new product. A replacement that appears only slightly more expensive can cost substantially more once those items are added.
What Owngevity means by “repairable”
Repairable does not mean every owner should perform the repair. It means the product can reasonably be restored with available parts, appropriate tools and competent service. Electrical work, refrigerant circuits, lithium-ion battery packs, gas components and sealed pressure systems can create hazards that are not justified by a small saving. Owner maintenance should stop where the manufacturer’s documentation or your competence stops.
That distinction matters for longevity. The goal is not to keep every product alive at any cost; it is to avoid throwing away useful equipment because of a minor or misunderstood fault while also recognizing when continued repair creates poor value or unnecessary risk.
After the problem is solved
Once normal operation returns, make a short record of what caused the issue and what fixed it. This creates a useful maintenance history and can reveal patterns if a similar symptom returns. If the cause was a restriction, contamination, poor installation or neglected routine care, adjust the maintenance schedule rather than waiting for the same failure to repeat.
Finally, verify the result under normal use rather than assuming the first successful cycle proves everything is fixed. Watch for leakage, abnormal heat, new noises, repeated errors and changes in performance. A repair that restores stable operation is valuable; a repair followed immediately by new symptoms deserves another diagnosis rather than another round of random parts replacement.