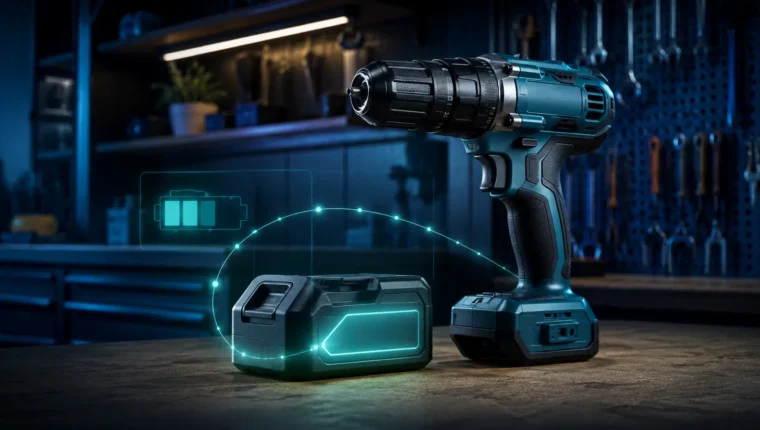
A power-tool battery that suddenly refuses to charge is easy to label “dead,” but lithium-ion charging systems deliberately refuse to charge under some conditions. Temperature, poor electrical contact, charger power and internal battery faults can all produce similar symptoms. The safe approach is to identify which part of the system is objecting rather than trying to force energy into the pack.
Bosch charger documentation provides a useful generic diagnostic framework: charging can be blocked when battery temperature is outside the allowed range, when contacts are dirty or when the battery is defective. Other brands use different indicators and thresholds, so the exact LED code must come from your charger manual.
Check 1: battery temperature
A battery used hard in a drill, grinder or saw can be too hot to charge immediately. Chargers commonly delay charging until the pack returns to an acceptable temperature. Cold packs can also be refused. Bosch documentation for some chargers specifies fast charging only within an allowed temperature window and states that charging resumes automatically once the battery returns to range.
Let the pack reach normal room temperature naturally. Do not put it in a freezer, on a heater or in direct sun to “speed up” the process.
Check 2: the contacts
Dust, oxidation or workshop debris can interfere with the low-resistance connection a charger expects. Remove the battery, inspect contacts for contamination or damage and clean only as the manufacturer permits. Do not sand plated contacts aggressively; removing plating can create a new long-term problem.
Check 3: charger power and charger condition
Verify that the outlet works with another device. Inspect the charger cable and housing for damage. If your battery platform gives a documented charger error code, use the manual to interpret it. A failed charger is easy to misdiagnose as several “bad batteries” if every pack is tested on the same charger.
Cross-test if you have compatible equipment
The most informative low-risk test is a known-good comparison. If another compatible battery charges normally on the same charger, the original pack becomes the main suspect. If neither battery charges, test with another known-good charger if available. Never mix nominally similar packs from incompatible systems just because the physical shape is close.
What a major drop in runtime means
Bosch charging notes state that a substantial drop in operating time per charge can indicate a battery nearing the end of its life. Capacity loss can occur even when the pack still reaches “full” on the charger because full charge now represents a smaller amount of stored energy than when new.
Why forcing a “sleeping” lithium pack is risky
Online videos often suggest applying voltage from another battery to wake a pack that its proper charger rejects. That bypasses exactly the protections intended to detect unsafe voltage, temperature or cell imbalance. A lithium-ion battery contains multiple cells and a battery-management system; a pack that appears simply “too low” may have one damaged cell or an internal connection fault.
Owngevity therefore does not recommend jump-starting or opening power-tool battery packs as a consumer troubleshooting step. Replace or professionally service a pack that the manufacturer-approved charger identifies as defective.
Inspect for physical damage
- Cracked housing from a drop.
- Swelling or deformation.
- Burn marks or melted contact areas.
- Unusual chemical odor.
- Water ingress or corrosion.
- A pack that becomes abnormally hot while idle or charging.
Stop using a physically damaged lithium pack and follow local battery-disposal and manufacturer guidance. Do not put damaged packs into ordinary household waste.
When replacement makes sense
Battery replacement is usually justified when the fault clearly follows the battery, the pack is outside warranty, runtime is badly reduced and the rest of your tool platform remains useful. Because the battery is modular, replacing it can extend the life of several tools that share the same platform.
How to reduce future battery stress
- Allow very hot packs to cool before charging.
- Store batteries in a cool, dry place away from direct sun.
- Do not leave packs where they can freeze or bake in a vehicle.
- Keep contacts and charger ventilation clean.
- Use chargers and batteries approved for the platform.
You do not need to micromanage every charge cycle. The highest-value habits are avoiding heat, physical abuse and incompatible charging equipment.
A sensible troubleshooting mindset
The goal of troubleshooting is not to replace parts until the symptom disappears. Start with observations that can separate categories of failure, change one variable at a time, and keep notes if the symptom is intermittent. This is especially important on modern products where controls can compensate for a developing fault and where one error message can have several possible causes.
Model-specific documentation should override generic internet advice. Manufacturers change component layouts, service access, error codes and maintenance requirements between generations. A procedure that is safe on one model can create leaks, electrical risk or damage on another. If a step requires live electrical measurement, refrigerant work, opening a sealed lithium pack, gas-system repair or defeating a safety interlock, it has moved beyond ordinary owner maintenance.
For Owngevity, a good repair is one that restores useful service without creating disproportionate safety, cost or reliability risk. That is why these guides separate low-risk checks from component diagnosis and why lifespan estimates are expressed as ranges instead of fake precision.
Before you spend money: document the symptom
Good troubleshooting becomes much easier when the symptom is described precisely. Note what the cordless-tool battery does, when it happens, whether the behavior is repeatable and whether anything changed immediately before the problem started. Record model and serial information before ordering parts or contacting service. If an error code appears, photograph it and use the manual for that exact model rather than relying on a code list for a different generation.
Also separate a performance complaint from a failure. A machine that still completes its intended job but does it less conveniently may need maintenance or an adjustment; a product that leaks, overheats, trips protection devices or cannot perform a core function has a different risk profile. This distinction keeps small issues from turning into unnecessary replacement decisions.
How to judge a repair quote
Ask what has actually been diagnosed, which part will be replaced, whether the quote includes labor and return visits, and what warranty applies to the work. A clear diagnosis with a defined part and total price is more valuable than a low estimate based on guesswork. If the repair is expensive, ask whether the technician sees evidence of other wear that could become significant soon.
Compare the quote with a genuinely equivalent replacement, not simply the cheapest product in the category. Include delivery, installation, accessories, disposal and any changes needed to fit the new product. A replacement that appears only slightly more expensive can cost substantially more once those items are added.
What Owngevity means by “repairable”
Repairable does not mean every owner should perform the repair. It means the product can reasonably be restored with available parts, appropriate tools and competent service. Electrical work, refrigerant circuits, lithium-ion battery packs, gas components and sealed pressure systems can create hazards that are not justified by a small saving. Owner maintenance should stop where the manufacturer’s documentation or your competence stops.
That distinction matters for longevity. The goal is not to keep every product alive at any cost; it is to avoid throwing away useful equipment because of a minor or misunderstood fault while also recognizing when continued repair creates poor value or unnecessary risk.
After the problem is solved
Once normal operation returns, make a short record of what caused the issue and what fixed it. This creates a useful maintenance history and can reveal patterns if a similar symptom returns. If the cause was a restriction, contamination, poor installation or neglected routine care, adjust the maintenance schedule rather than waiting for the same failure to repeat.
Finally, verify the result under normal use rather than assuming the first successful cycle proves everything is fixed. Watch for leakage, abnormal heat, new noises, repeated errors and changes in performance. A repair that restores stable operation is valuable; a repair followed immediately by new symptoms deserves another diagnosis rather than another round of random parts replacement.